Introduction
引导PC的lab分为3部分:
- 熟悉x86的汇编语言,QWMU x86 模拟器,PC的开机引导程序
- 测试 6.828 的内核引导加载程序 (boot loader)
/boot/loader/ - 深入研究6.828内核的初始模板 JOS
/kernel
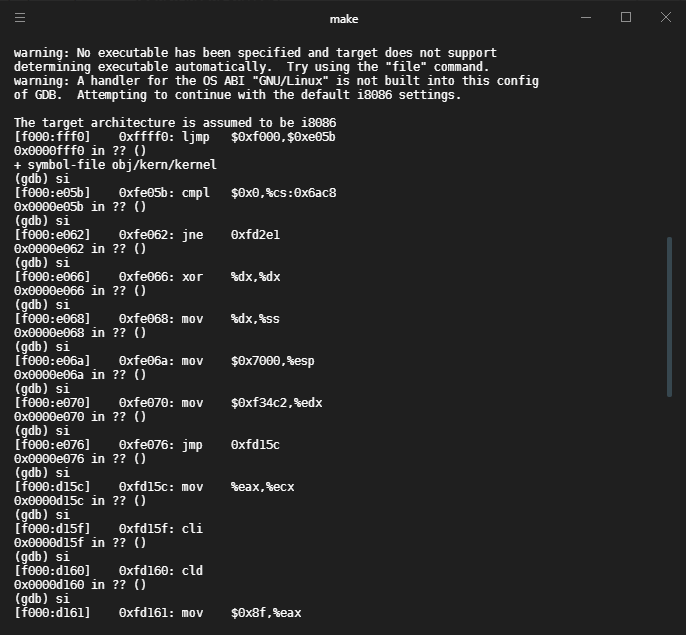
软件环境
Git
To learn more about Git, take a look at the Git user's manual.
Already familiar with other version control systems, you may find this CS-oriented overview of Git useful.
The URL for the course Git repository is https://pdos.csail.mit.edu/6.828/2018/jos.git.
gcc
QEMU 环境配置
you'll need to install qemu and possibly gcc following the directions on the tools page.
Clone the IAP 6.828 QEMU git repository git clone https://github.com/mit-pdos/6.828-qemu.git qemu
On Linux, you may need to install several libraries. We have successfully built 6.828 QEMU on Debian/Ubuntu 16.04 after installing the following packages: libsdl1.2-dev, libtool-bin, libglib2.0-dev, libz-dev, and libpixman-1-dev.
sudo apt-get install libsdl1.2-dev libtool-bin libglib2.0-dev libz-dev and libpixman-1-dev
Configure the source code (optional arguments are shown in square brackets; replace PFX with a path of your choice)
- Linux:
./configure --disable-kvm --disable-werror [--prefix=PFX] [--target-list="i386-softmmu x86_64-softmmu"] - OS X:
./configure --disable-kvm --disable-werror --disable-sdl [--prefix=PFX] [--target-list="i386-softmmu x86_64-softmmu"]Theprefixargument specifies where to install QEMU; without it QEMU will install to/usr/localby default. Thetarget-listargument simply slims down the architectures QEMU will build support for.
Run make && make install
libtool --quiet --mode=install install -c -m 0755 qemu-system-x86_64  "/usr/local/bin"
strip "/usr/local/bin/qemu-system-x86_64"